GenAuth Token
Introduction to GenAuth Token
- GenAuth Token is a tool application for authentication, login and authorization developed by Beijing Steam Memory Technology Co., Ltd. for mobile devices. Currently supports iOS and Android systems, it is an important part of GenAuth cloud-native identity management products. The product has the following core functions:
- OTP password entry/reading/authentication - Bind an OTP password to an account, and provide authentication and login capabilities to the application at any time;
- GenAuth client application registration/login capabilities - Bind & experience login to the GenAuth console client application and Guard, and view user information;
- Biometric authentication login method - Support system and device-level fingerprint recognition and face recognition capabilities;
- Password-free fast login authentication Web application - Mobile push login authentication, scan code login authentication Web application;
- Password-free fast login authentication client application - Mobile application scans the QR code with login status on the Web (currently located in the personal center of the application) to complete the mobile terminal's fast login authentication;
Pre-preparation work
- Download "GenAuth Token" to the mobile phone:
- iOS Download address: https://apps.apple.com/app/authing-Token/id1603744061
- Android download address: https://mobile.baidu.com/item?docid=5000565464&source=appbaidu
- Register and log in to become a GenAuth Console developer: GenAuth Console developer registration/login address: https://console.genauth.ai
Function 1: OTP password entry/reading/authentication
GenAuth provides multi-factor authentication capabilities for accounts, binds OTP to accounts, and provides authentication and login capabilities for Web applications at any time;
Steps 1: In the GenAuth Console, create a web application:
Original-image links open source screenshots in a new tab. Labels identify the surrounding section and Chinese UI or unverified language.
Original image 1 (in section "Function 1: OTP password entry/reading/authentication"; Chinese UI)
Step 2: Enter the web application you just created and open the "Advanced Configuration" - "Security Settings" module:
Original image 2 (in section "Function 1: OTP password entry/reading/authentication"; Chinese UI)
Step 3: In the "Security Management" module, find "Multi-factor Authentication" and enable the "OTP Password" authentication method:
Original image 3 (in section "Function 1: OTP password entry/reading/authentication"; Chinese UI)
Step 4: In the web application you just created, click "Experience Login" and enter the user account information of the user pool, and click the "Login" button:
Original image 4 (in section "Function 1: OTP password entry/reading/authentication"; Chinese UI)
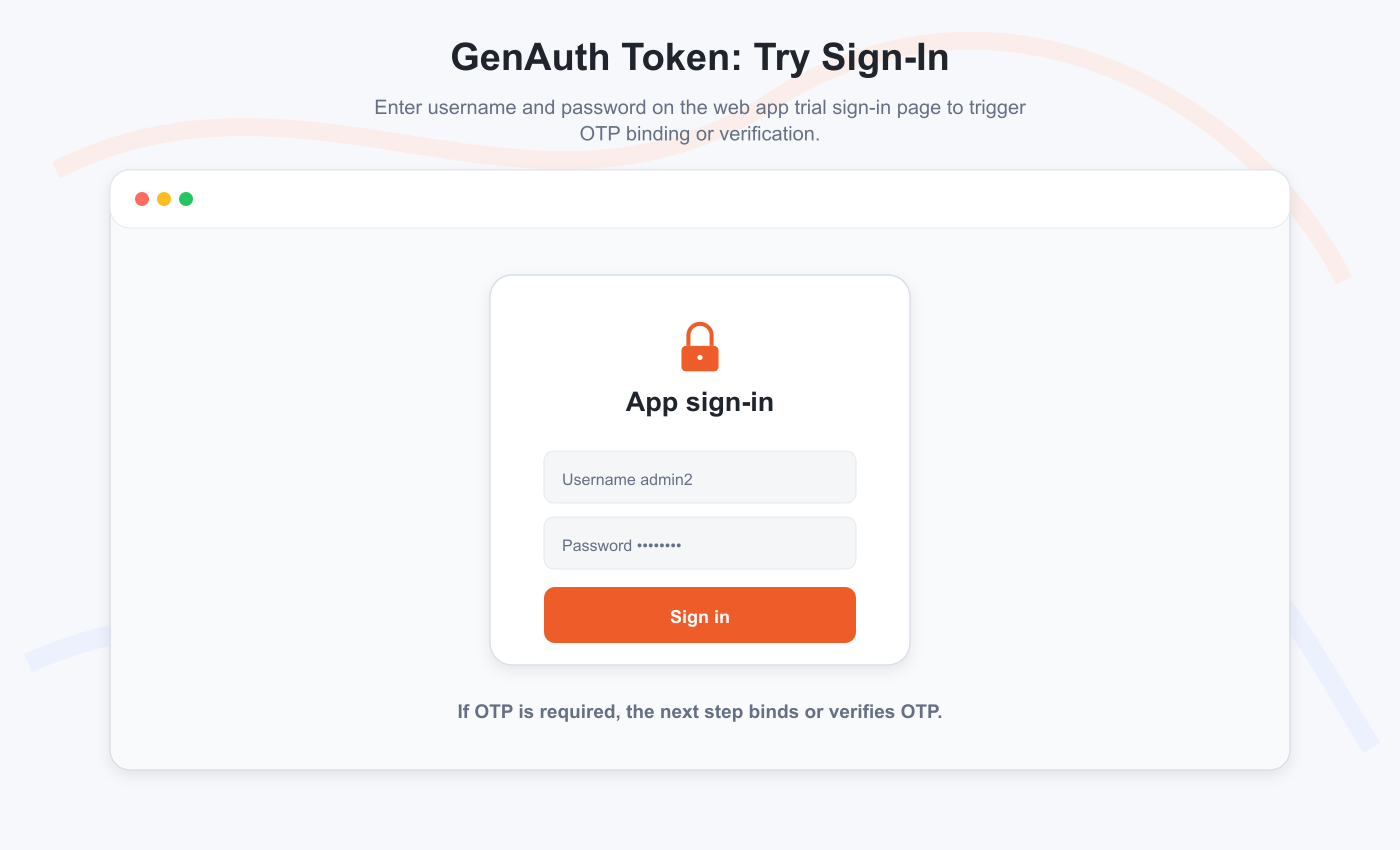
Step 5: At this time, the application login box prompts that OTP binding is required. Click OK to enter the binding process: 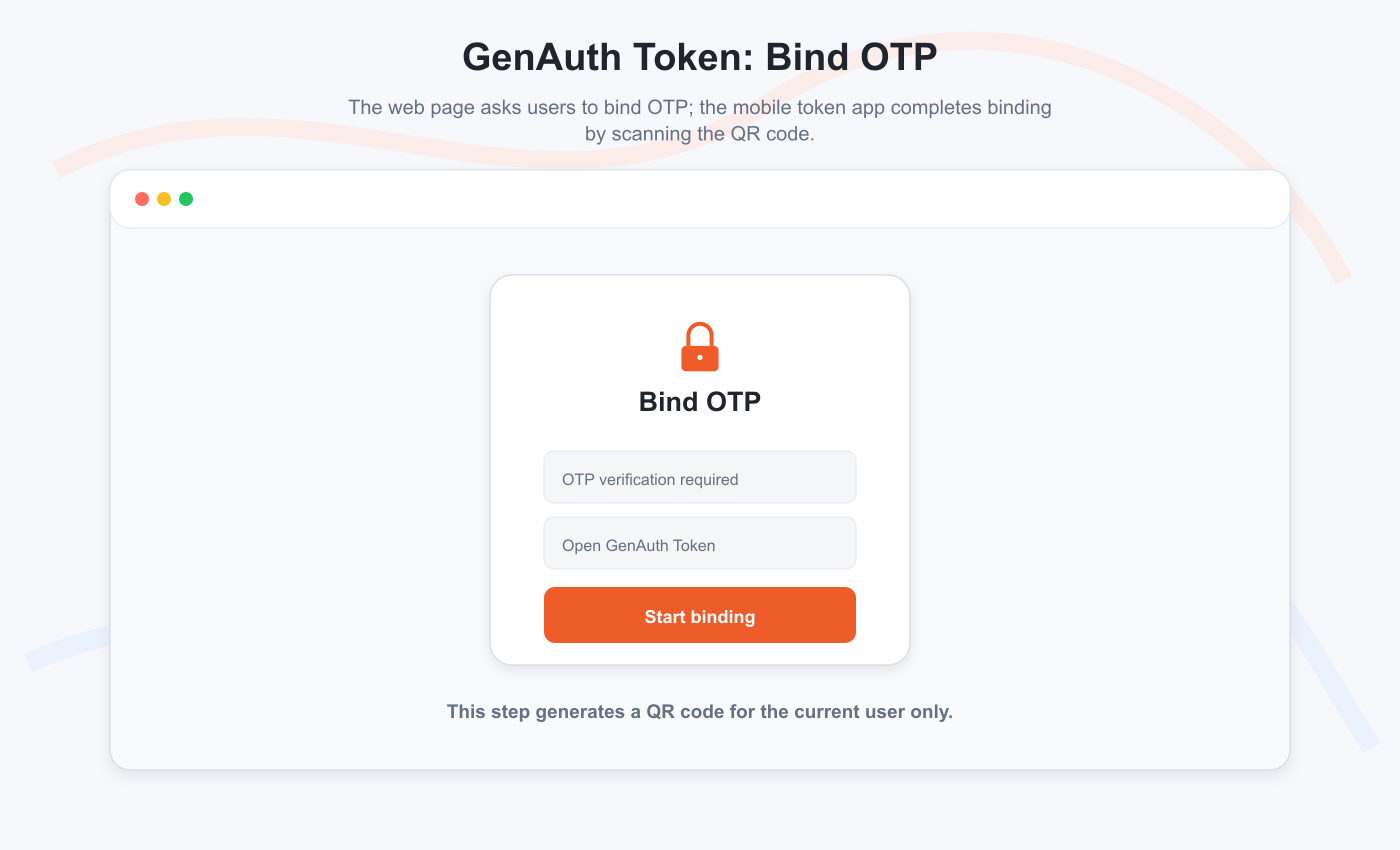
Step 6: Open "GenAuth Token", scan the following QR code, and bind the relevant account;
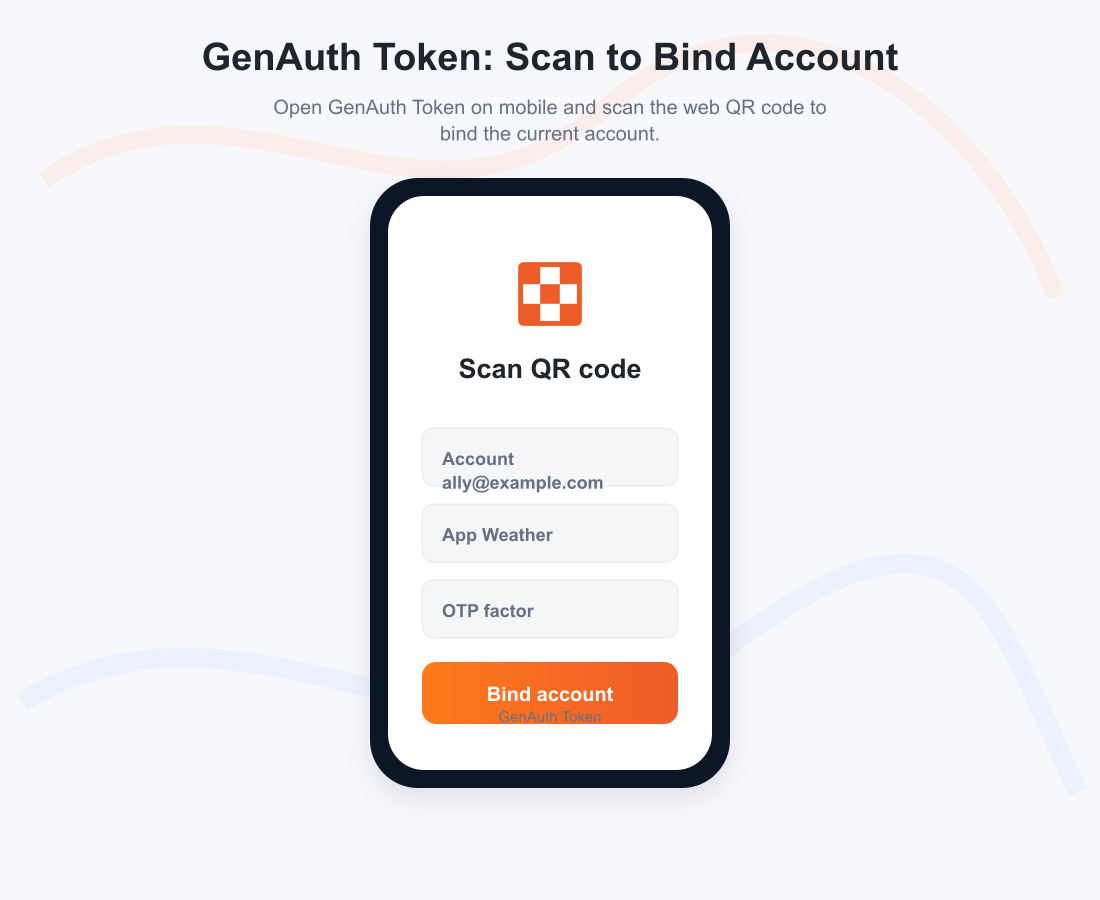
Demo video is not included in this documentation set.
Step 7: Click "Complete Binding" to enter the application page:
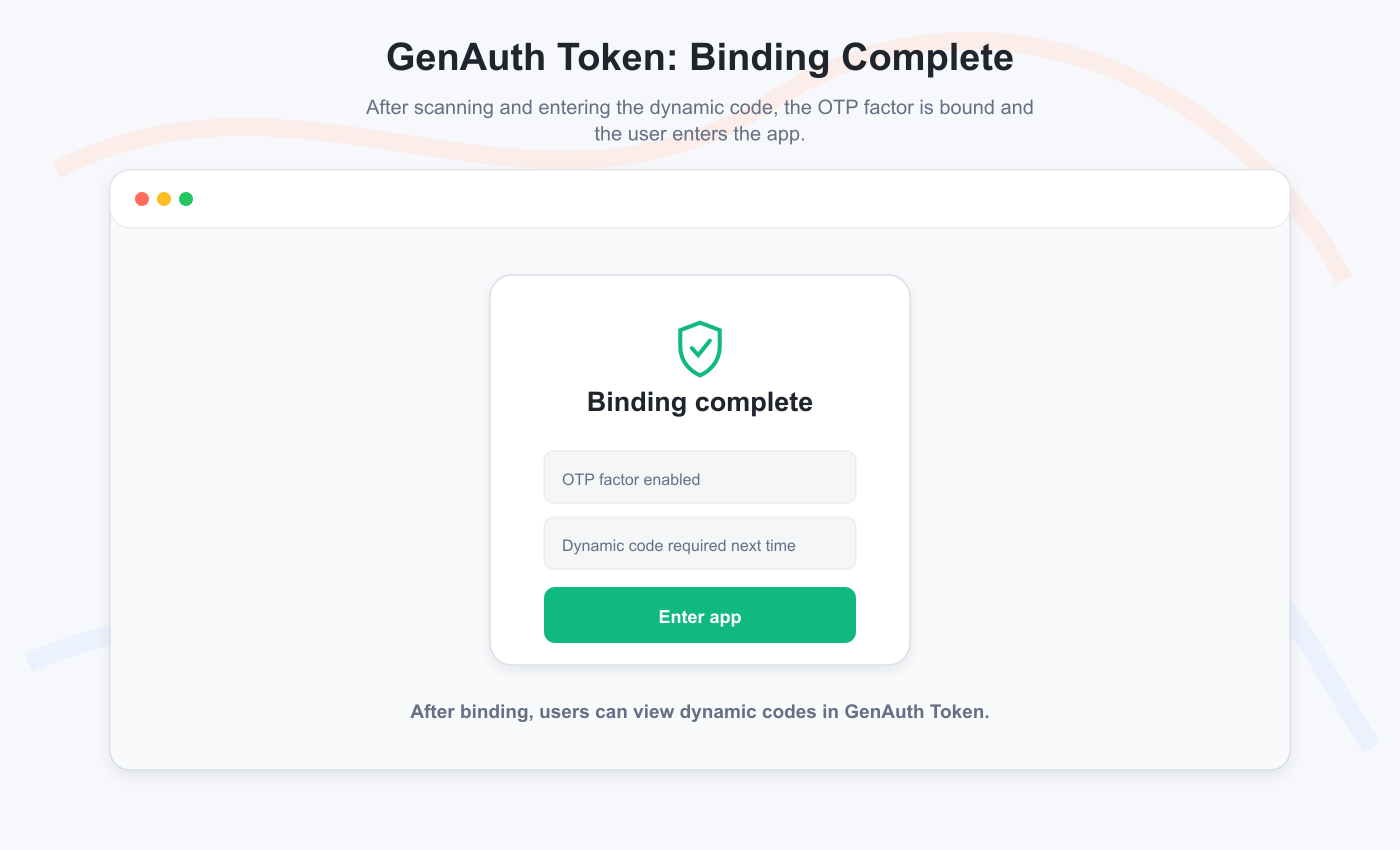 Original image 5 (in section "Function 1: OTP password entry/reading/authentication"; Chinese UI)
The above example simply describes a process of using "GenAuth Token" in the GenAuth application to complete password authentication. GenAuth Token is applicable to all standardized OTP password entry, reading and authentication on the market;
Function 2: GenAuth client application registration/login capability
GenAuth token supports binding console client applications and experience login Guard capability;
Step 1: In GenAuth Console, create a client application:
Step 2: In the GenAuth console, under the "Login Control" of the client application, find the QR code of the application:
Step 3: Open the GenAuth token, enter the "My" Tab, click "Add Application"-"Scan QR Code" to enter the Guard interface of the application:
Demo video is not included in this documentation set.
Step 4: In the GenAuth console, under the login control of the client application, configure the relevant login method:
Step 5: Open the GenAuth token, enter the "My" Tab, click to experience logging in to an application, select the corresponding login method, and enter the personal center of the application:
Demo video is not included in this documentation set.
Function 3: Biometric authentication login method (fingerprint, face recognition)
Currently, Android devices support device fingerprint recognition, and iOS supports device face recognition:
Step 1: In the GenAuth console, under the login control of the client application, turn on/off the corresponding biometric authentication capability: Original image 9 (in section "Function 3: Biometric authentication login method (fingerprint, face recognition)"; Chinese UI)
Step 2: Open the GenAuth token, find the client application, click on the application, enter Guard, and use the biometric authentication capability to log in:
Android fingerprint login experience:
Demo video is not included in this documentation set.
iOS face recognition login experience:
Demo video is not included in this documentation set.
Android fingerprint binding/unbinding:
Demo video is not included in this documentation set.
iOS face recognition binding/unbinding:
Demo video is not included in this documentation set.
Function 4: Password-free fast login authentication Web application
This function supports fast login authentication of Web application by receiving Push notification when the client application user is in the logged-in state under the same user pool;
Step 1 : In the GenAuth console, create a Web application: Original image 10 (in section "Function 4: Password-free fast login authentication Web application"; Chinese UI)
Step 2 : Enable Push login authentication under Password-free login authentication, and select the authenticatable client application;
Step 3 : Click Experience Login to enter the experience login Guard of the application Interface: Original image 12 (in section "Function 4: Password-free fast login authentication Web application"; Chinese UI)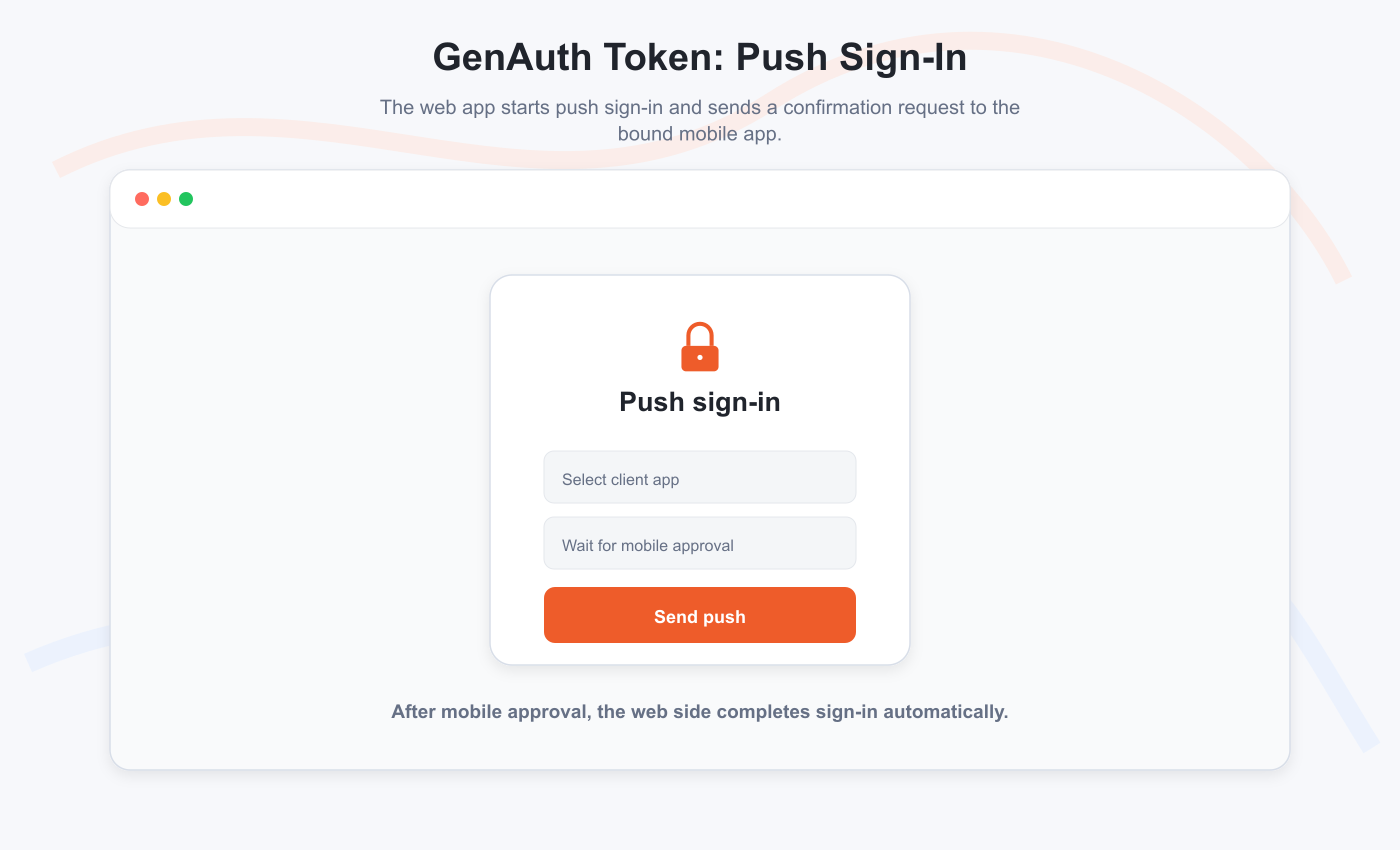
Step 4 : Enter the user name and click Login. The system will automatically send a message notification to the GenAuth token to confirm the login; 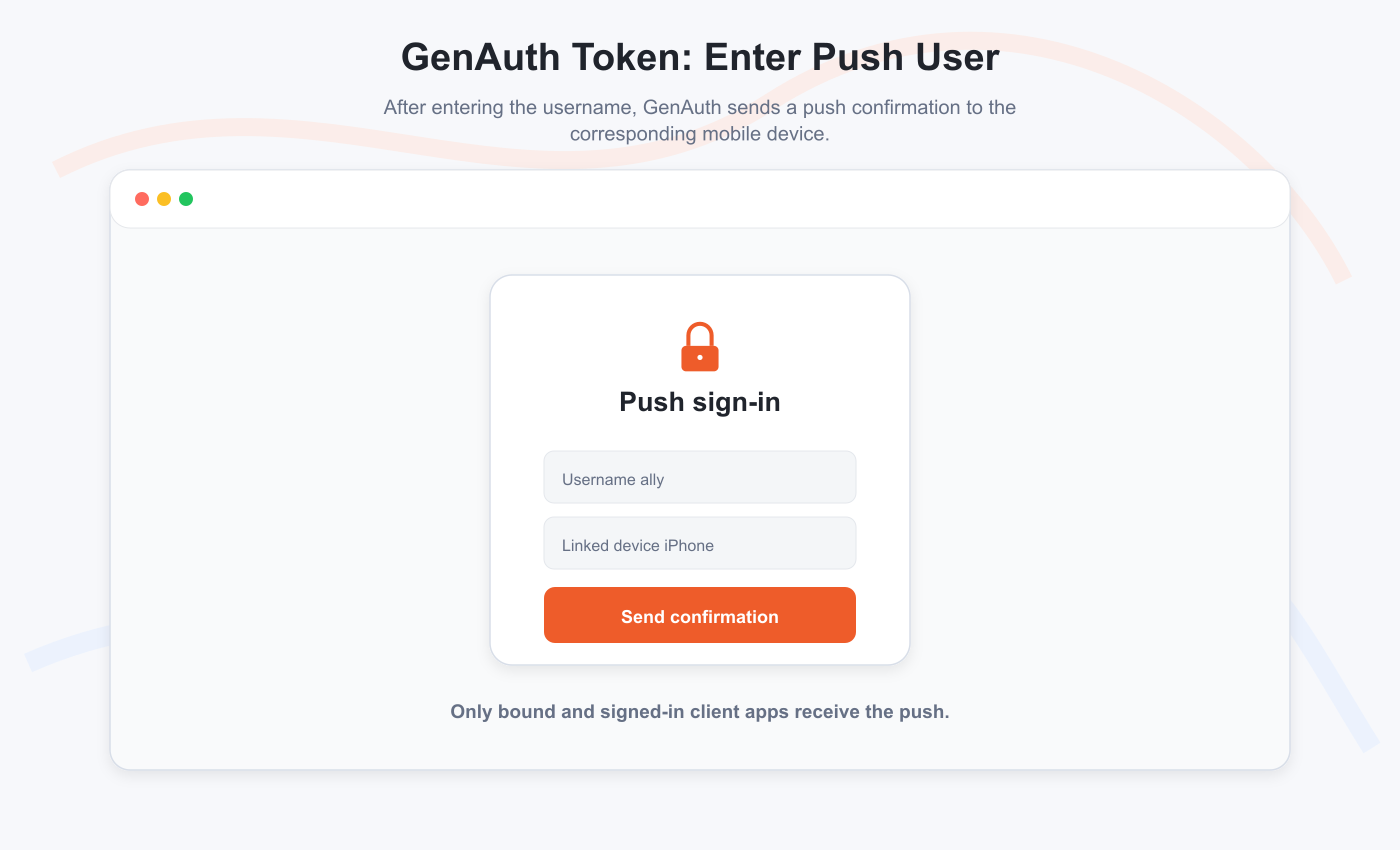
Demo video is not included in this documentation set.
Step 5: Open the GenAuth token. When the device and the application are in the login state, you will receive a PUSH message. Click Confirm Login and the Web application will jump to the login interface. At the same time, when the application is not in the background, you will receive a PUSH message outside the site. After clicking to enter the application and confirm the login, you can also enter the confirmation login interface: Original image 13 (in section "Function 4: Password-free fast login authentication Web application"; Chinese UI)
Demo video is not included in this documentation set.
Function 5: Password-free quick login authentication client application
Step 1 : Open the client application just created, enable the mobile APP scan code login method and related applications; Original image 14 (in section "Function 5: Password-free quick login authentication client application"; Chinese UI)
Step 2 : Enter the personal center of the 1.4.0 Web application, click account binding, and view the quick authentication QR code: Original image 15 (in section "Function 5: Password-free quick login authentication client application"; Chinese UI)
Step 3 : Take out the GenAuth token, enter "My" - "Add Application" - "Scan QR Code" entrance, scan the above QR code, complete the mobile application quick login, and enter the personal center:
Demo video is not included in this documentation set.